
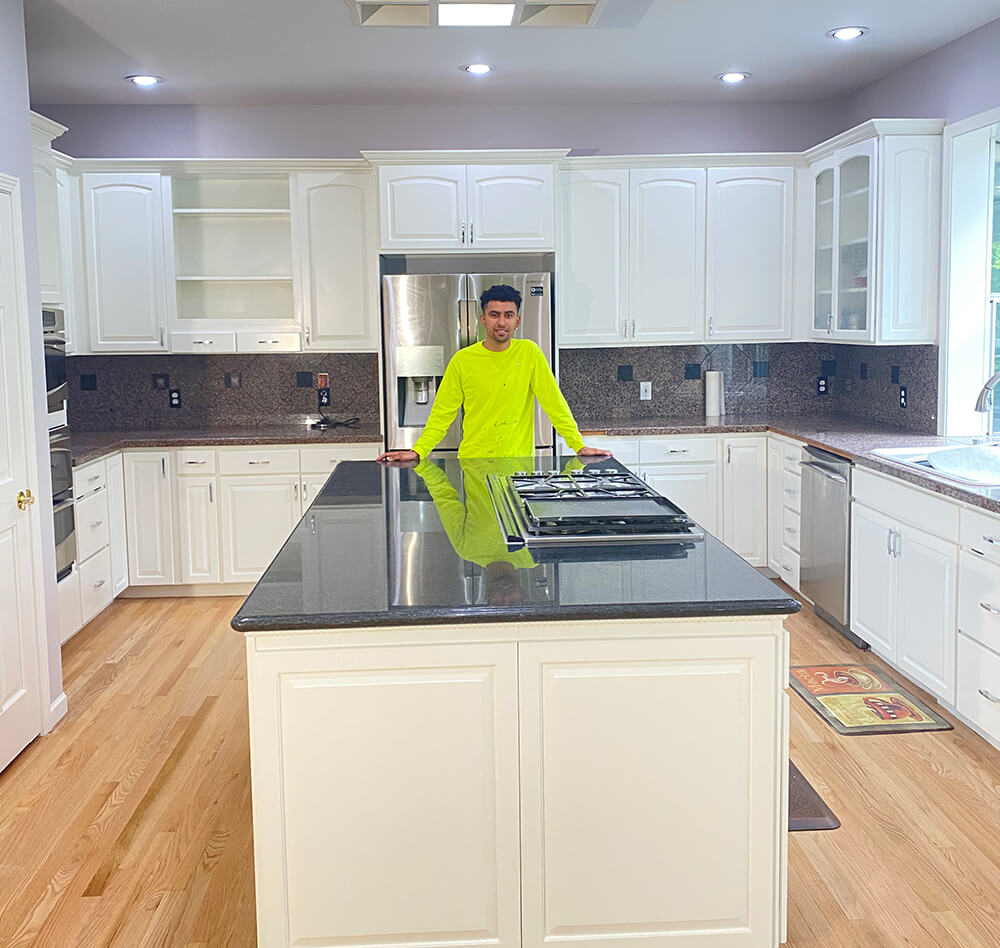
Transforming your kitchen by painting the cabinets is a cost-effective way to breathe new life into the space. However, achieving a professional finish requires careful preparation and attention to detail. In this guide, we’ll take you through the essential steps to ensure a clean workspace and a flawless paint job for your kitchen cabinets.
Remove Cabinet Doors and Hardware: Start by using a screwdriver to carefully remove cabinet doors and hardware. To make reassembly easier, label each door and its corresponding hardware.
Important Numbering: Numbering the cabinet doors and drawers is crucial for a smooth reassembly process. This ensures that each element finds its rightful place, eliminating confusion during reconstruction.
Clean the Surfaces: Before painting, thoroughly clean the cabinet surfaces with a mild detergent or degreaser. This step removes grease and grime, providing a clean canvas for the paint to adhere to.
Sand the Cabinets: Lightly sand the cabinet surfaces with 220-grit sandpaper to remove the existing finish. Follow up with fine-grit sandpaper for a smoother surface, promoting better adhesion for the primer.
Remove Dust: Wipe down the cabinets with a microfiber cloth to eliminate any remaining sanding dust. Ensure that the surfaces are completely dry before proceeding to the next steps.
Primer – Achieving a Perfect Base: Use a paint sprayer to apply two even coats of BIN Primer in a shellac base. This primer is highly recommended for cabinets transitioning from stain to paint due to its ability to prevent bleeding and ensure a flawless finish. Ensure proper ventilation during this step for faster drying and an improved painting experience.
Fill Small Dents or Holes: Inspect wood surfaces for imperfections and apply wood filler or Red Bondo. Allow it to dry for 30 minutes before sanding with 320-grit sandpaper for a smoother finish.
Apply Emerald Urethane Paint: Use a paint sprayer to apply the first coat of Sherwin Williams’ Emerald Urethane in a semi-gloss finish. Beginners may find it easier to spray doors while lying down to ensure an even application and minimize the risk of drips. Allow the first coat to dry before applying the second, ensuring a smooth and professional finish. Proper ventilation is crucial during this step.
Cure and Care: Allow the painted cabinets to cure fully according to the manufacturer’s recommendations before heavy use. Be gentle until the paint has completely cured to prevent any damage or blemishes.
Reattach Doors and Hardware: Once dry and cured, reattach cabinet doors and hardware. Take the time to ensure proper alignment for a polished and cohesive look.
Follow these meticulous steps, and your kitchen cabinets will undergo a remarkable transformation with a professional finish. Investing time in preparation and using high-quality materials will ensure lasting results that enhance the overall aesthetic of your kitchen space.